Willys
Novi Governor Refresh
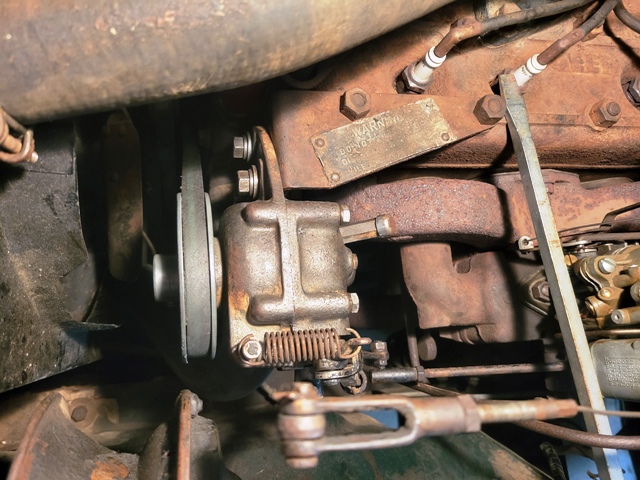
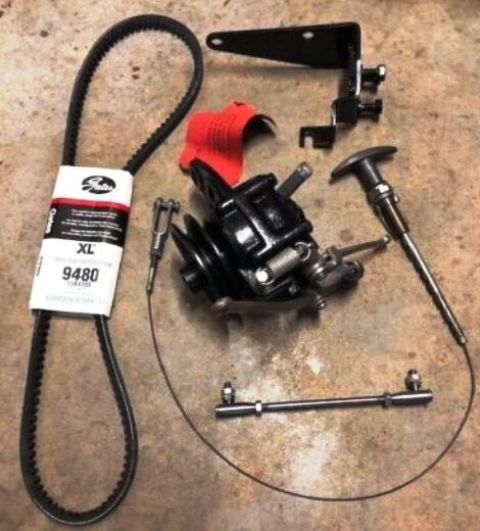
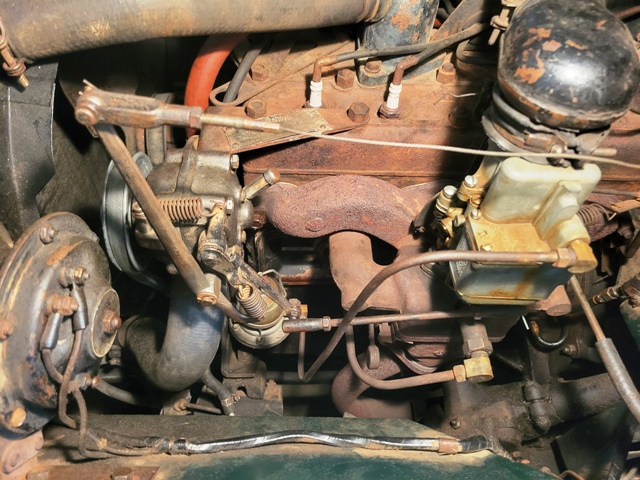
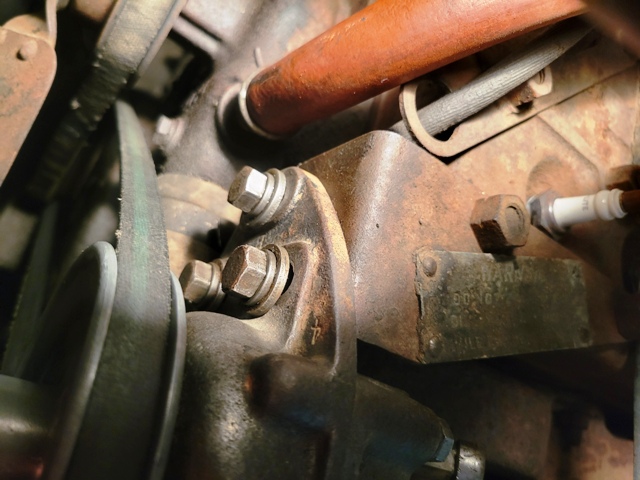
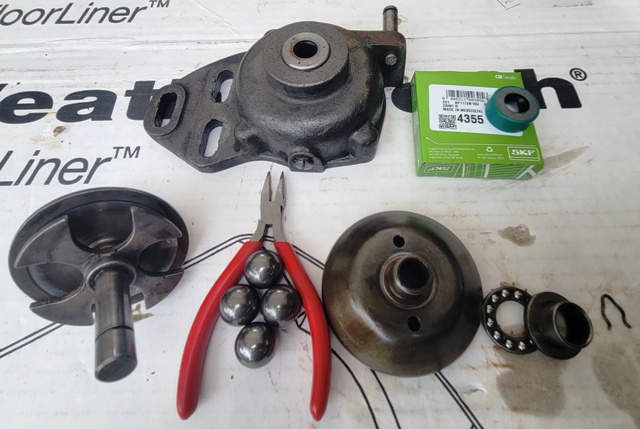
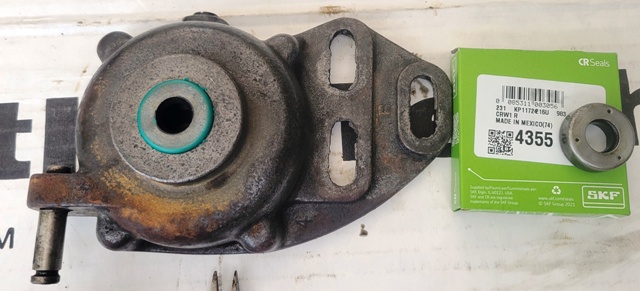
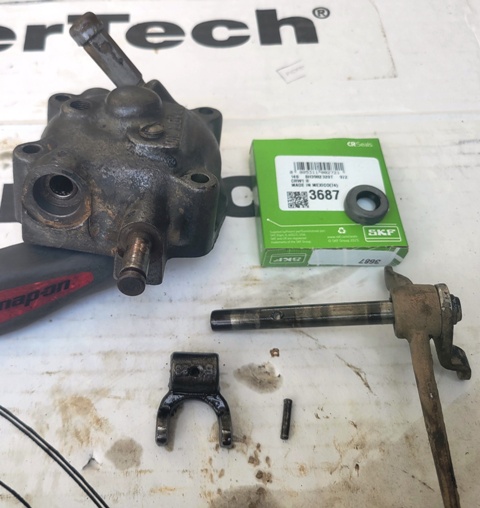
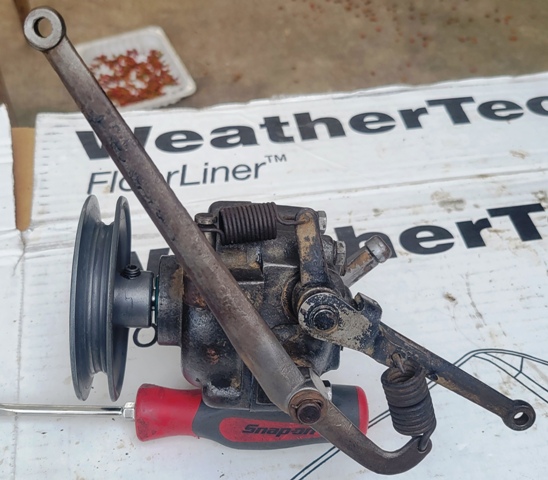
This is a file picture of what makes up the components of a Willys CJ-2A NOVI Governor Installation and the NOVI on my 48 CJ-2A
My 1948 CJ-2A has been slinging oil ever since I added some oil to the Novi Governor to the bring the fill level where it should be. After searching the interwebs for a good tutorial I was displeased to find very little written documentation showing step by step instructions. So in a quest to fill the void I decided to document the task and share for anyone else who might need a little help.
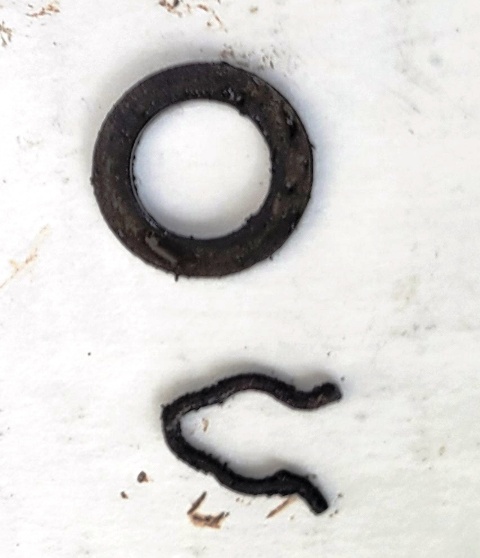
First - I removed the cotter pin and cross pin from the Governor Handle pull cable yoke and the 7/16" wrench size nut from the carburetor linkage rod and set the hardware in a safe place.
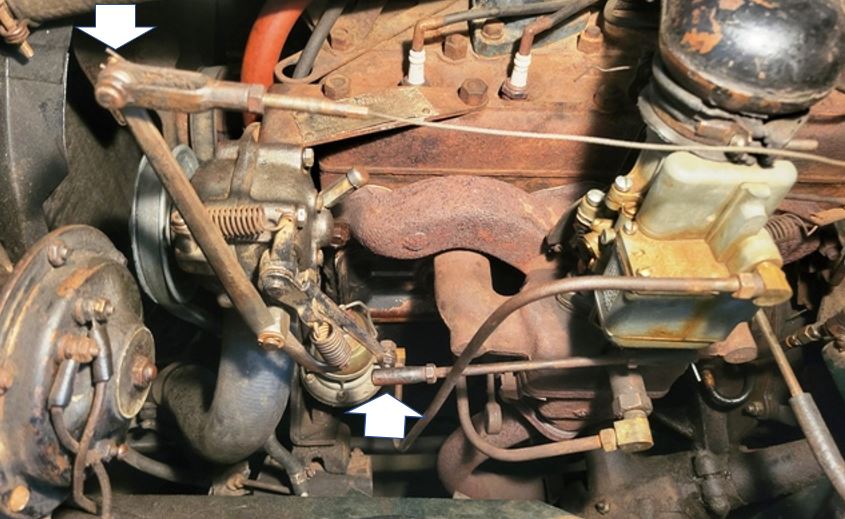
Second - I removed the three 9/16" wrench size bolts mounting the Novi Governor to the mounting bracket, removed the belt from the pulley, and set the hardware in a safe place.
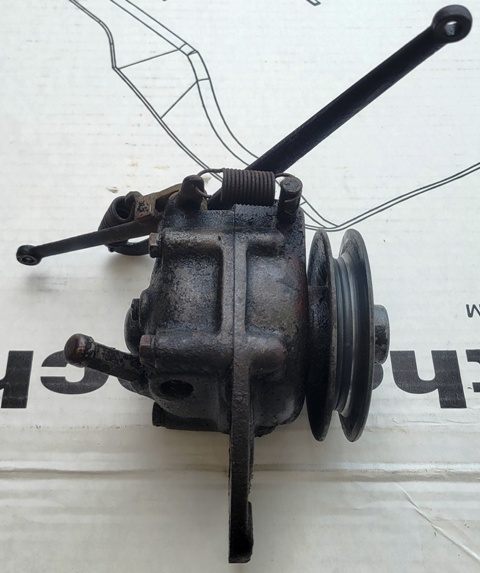
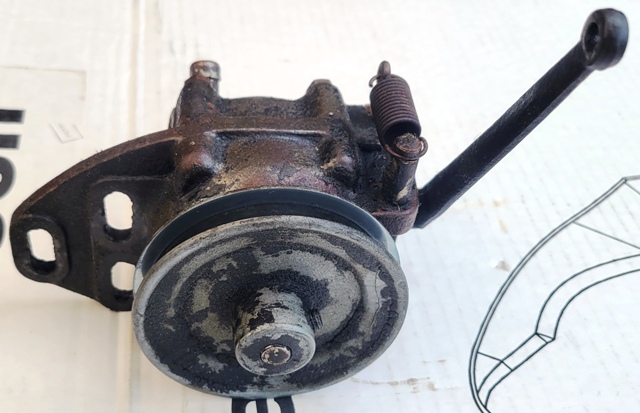
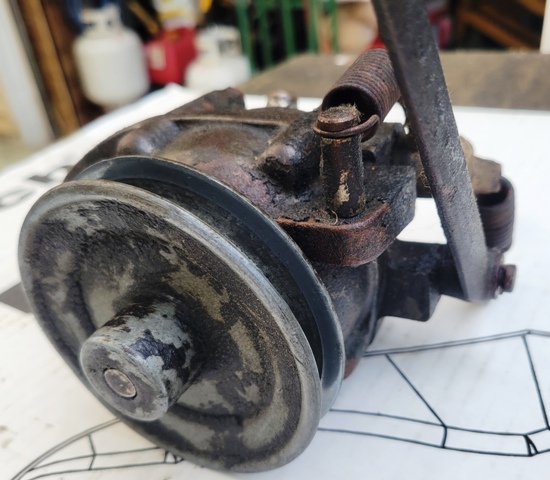
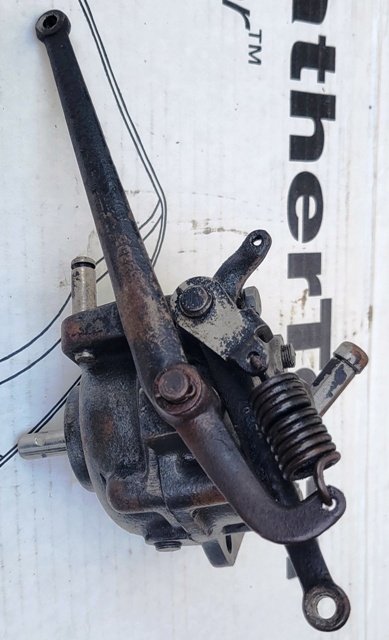
Third - I Lifted the Novi from the engine bay and placed it on a clean work surface. This was the perfect time to take pictures of all sides to help with reassembly noting the linkage and spring orientation. (I'll say why further in the reconditioning)

![]()
Fourth - I began disassembly by removing the front pulley which was held with a hex head set screw. I then disassembled the linkage by removing the spring clip (be careful it does not launch) and set the hardware aside in a safe place. I then thoroughly degreased with carb cleaner and wiped it down. It appears the governor was painted black when new.
Fifth - I removed the four 9/16" wrench size bolts and set them aside in a safe place, then held the housing over a drain pan to catch any remaining oil as I split the housing halves.
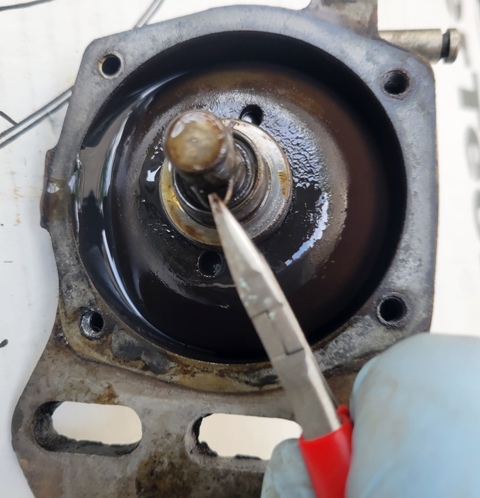
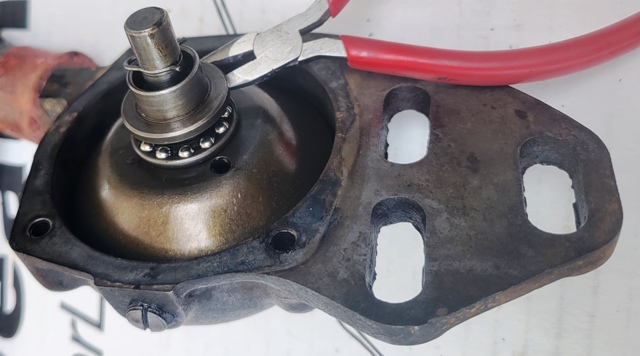
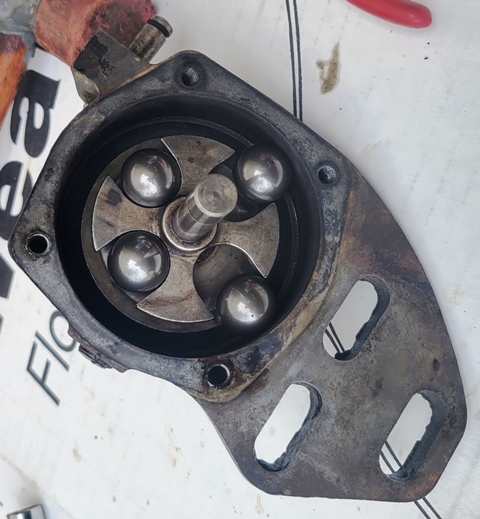
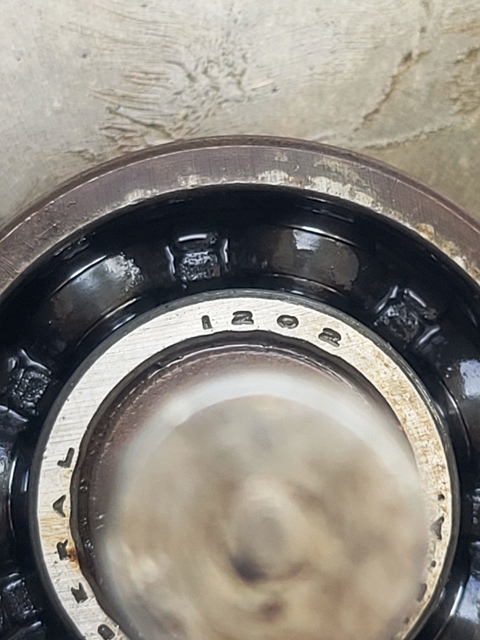
Sixth - I removed the shaft spring clip, which then releases the bearing retainer, bearing, and inner bearing cup, which exposes the 4 large ball bearings. After setting these removed parts aside, a few light taps with a rubber hammer, I was able to remove the shaft from the housing seal. I then drove the shaft seal out with an appropriate sized deep socket in to an over sized socket and replaced it with a new seal = CR 4355. The Federal 1202 bearing is on the back side of 4 slot ball bearing retainer and is noted should you want to replace it. Mine seemed fine so was reused.
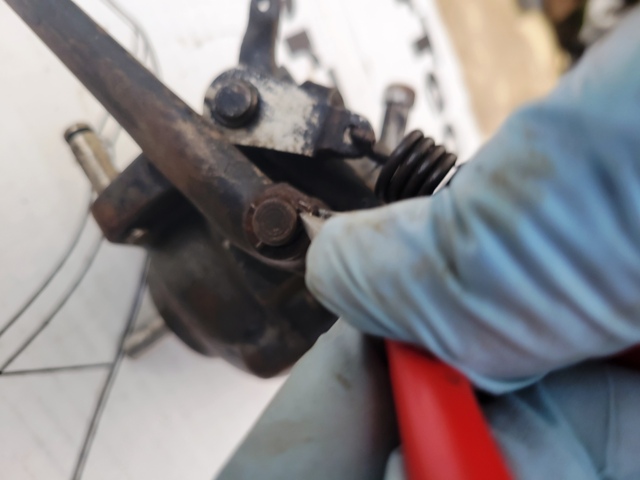
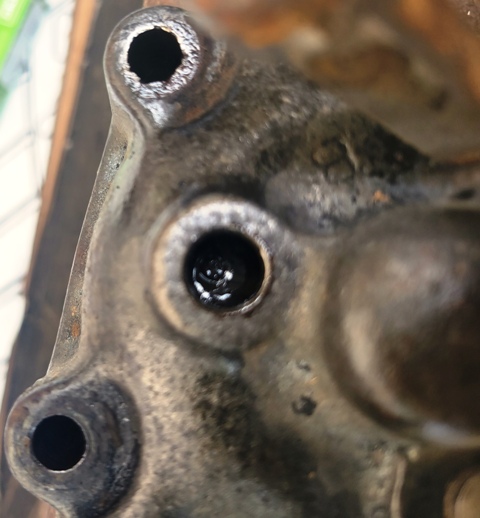
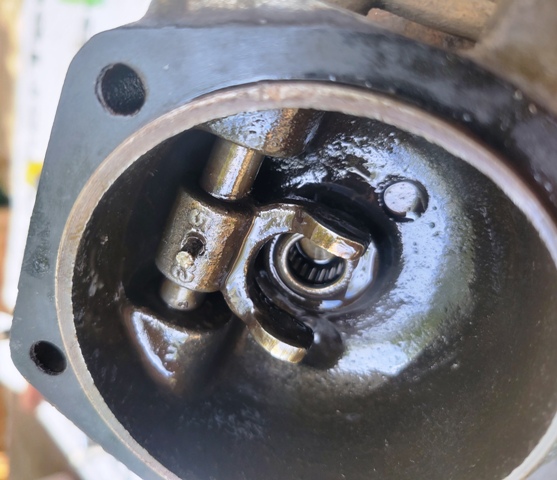
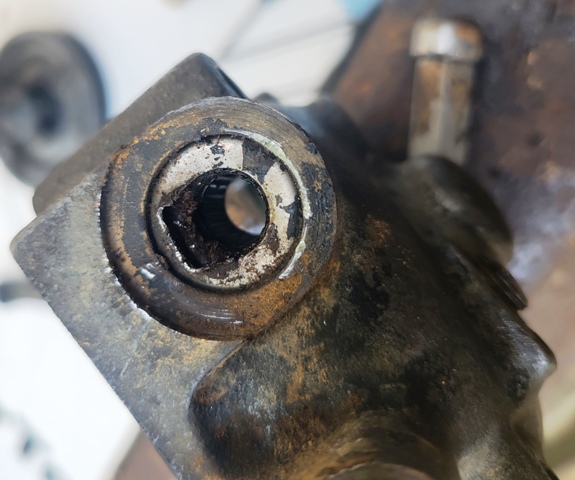
Seventh - The linkage side of the governor halves required a little more effort. First remove the upper access/fill port screw. This will expose a drift pin (you need to slightly rotate the linkage shaft to see the pin (note the pin in the second picture)). I put a second punch between the housing and linkage to hold the shaft in the appropriate position to allow me to drive the pin from the outside toward the inside. You can then slide the shaft out and set it, the pin and the the fork aside in a safe place. Because of the caged bearing being installed removing the seal presented a challenge. As you can see in the fourth picture a screwdriver being used to pry did not work. I ended up drilling several small holes near the outer edge of the seal close to the housing and was then able to twist the seal out with the small needle nose pliers seen in a couple other picture. I was then able to tap in the new seal = CR 3687.
Eighth - Now was time for reassembly.
- Reverse the steps in "Seventh" by sliding the shaft and fork back into the housing and drive the pin back into place.
- Reverse the steps in "Sixth" by placing the shaft back into the front housing, place the ball bearing in their individual spaces, slide the bearing cup housing over them, then the caged bearing, spacer and spring clip.
- My gasket was in very good shape so I cleaned it with a shop towel and some carb cleaner then applied a liberal amount of Permatex Black Sealant to the existing gasket then put the two housing halves back together (I had previously cleaned and wire wheeled my housing bolts). Remove the two upper and lower access/fill port screws. Holding the housing level I squirted oil in the upper hole until is was coming out the lower (oil level) hole and replaced the port screws. I did not measure the oil amount but it was only a few ounces.
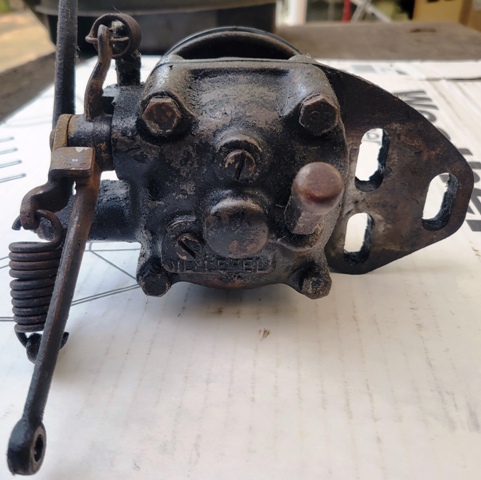
- Reverse the steps in "Fourth" by placing the linkage on the shaft noting the orientation of the springs, and then the pulley. I mentioned earlier about referring to the pictures before disassembly - do you see anything wrong in this picture?
- Install the governor back on the engine mount and belt and reconnect the carburetor link and pull handle yoke. (I had previously cleaned and wire wheeled my mounting bolts)